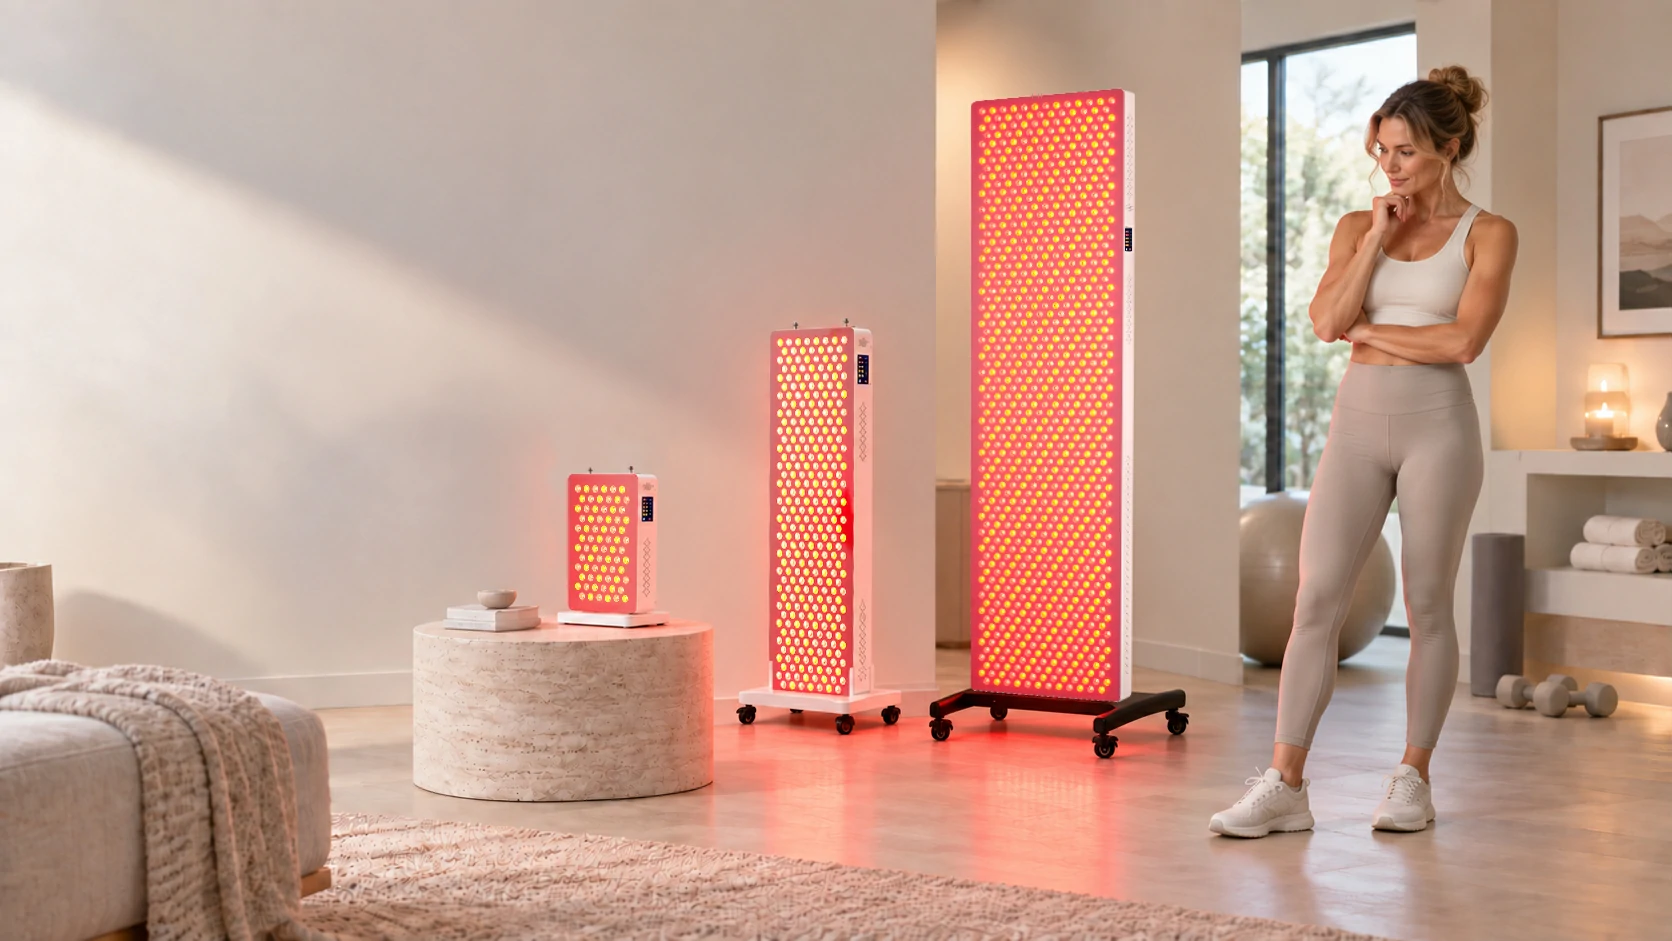
The short answer: choose the panel that covers the area you use most often, in the position you will actually use, and still fits your room with its stand and working distance included. Size labels such as “half body” or “full body” are not used consistently across brands. Verify four things instead: the physical dimensions, the illuminated field at the exact model’s documented distance, the supported mounting options and the total floor or wall clearance.
If you are asking “what size red light therapy panel do I need,” the answer depends on your routine, not on your height alone. A larger panel can reduce how often you reposition yourself or the device, but it may cost more, weigh more and require a more permanent space. A smaller panel is easier to store but may turn one routine into several positions. The right size is a room-and-routine decision, not simply a height category.
This guide helps home buyers compare panel formats. It does not prescribe a treatment distance, tempo di sessione, dose or medical use. Those depend on the exact device instructions and the purpose for which it is being used.
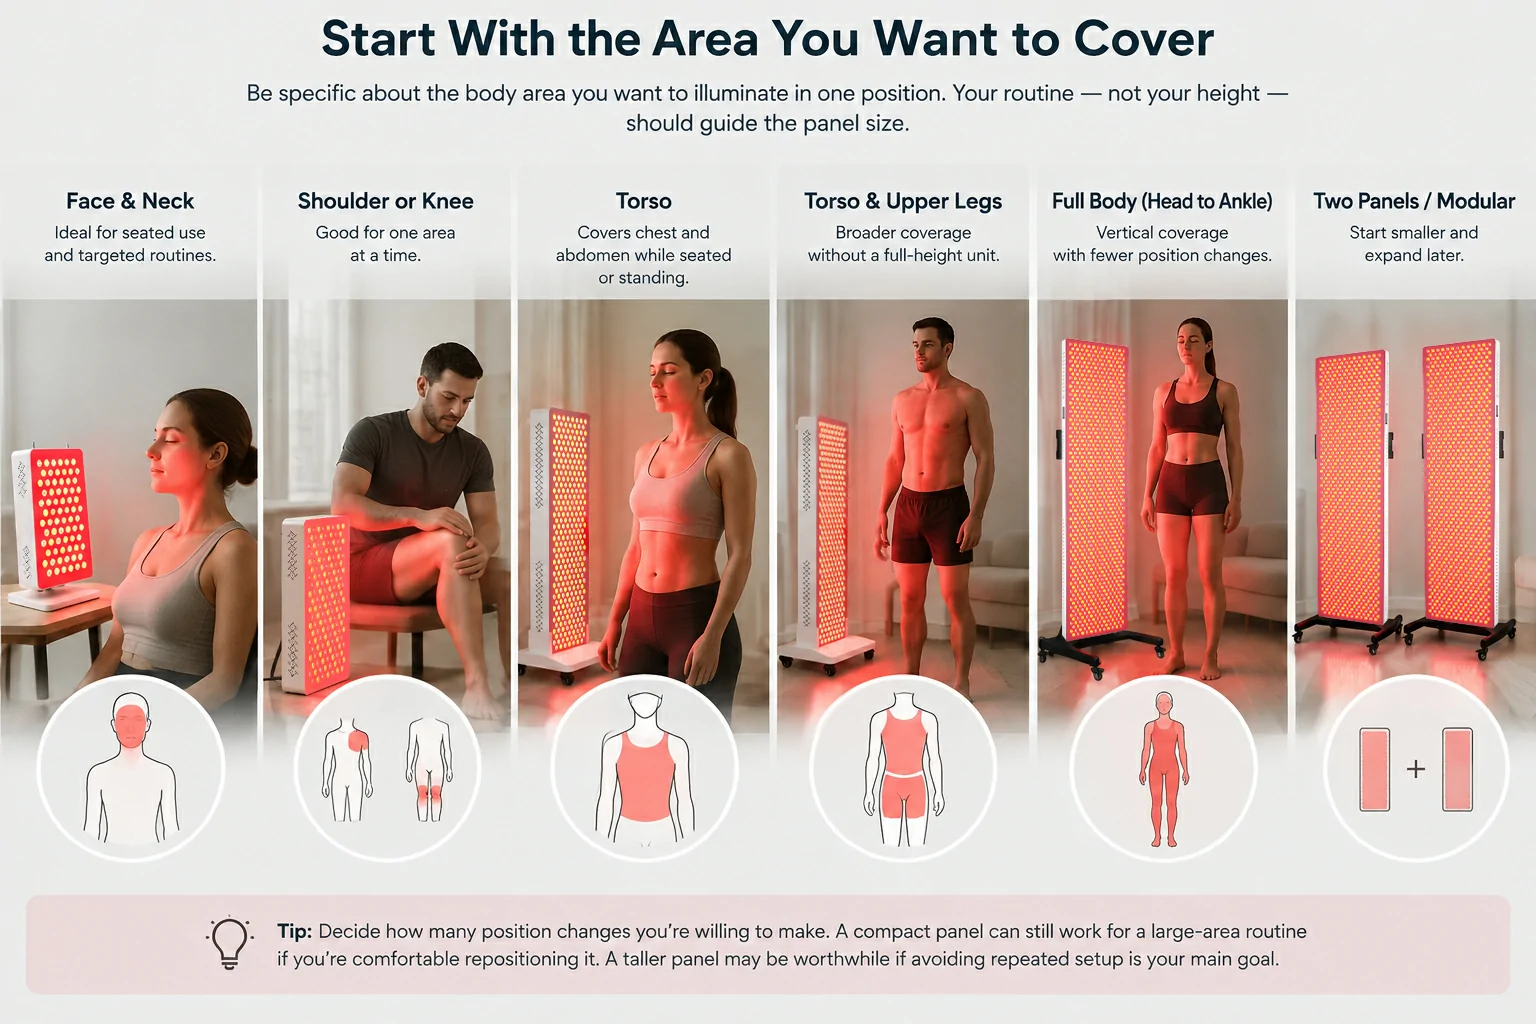
Start With the Area You Want to Cover in One Position
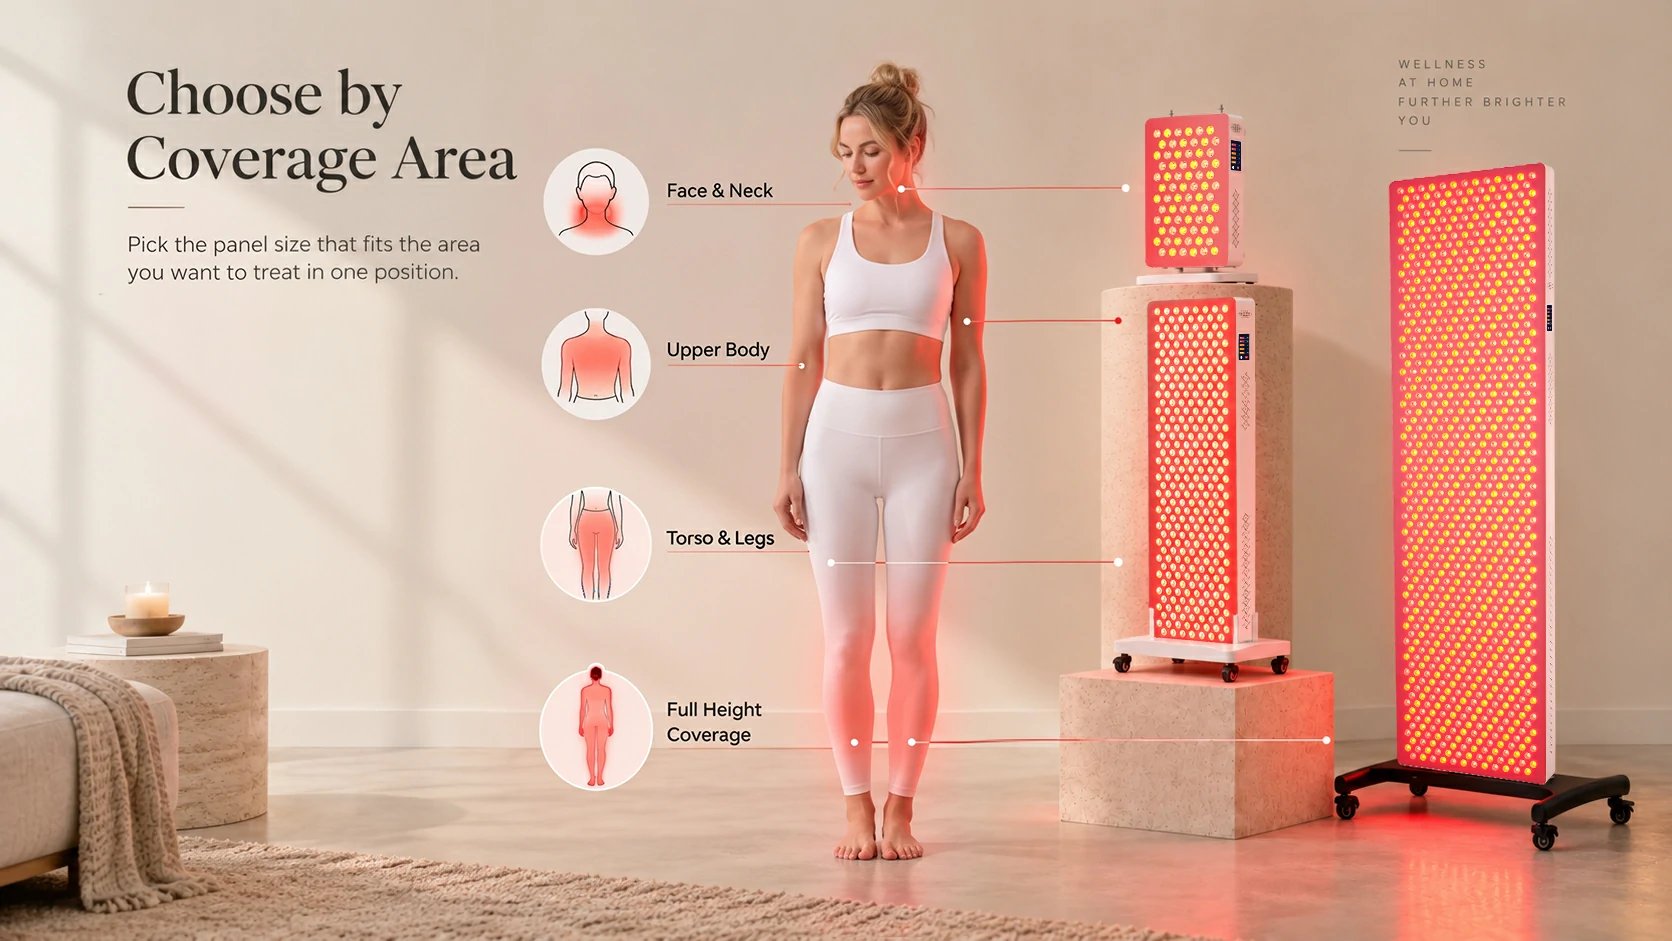
Before comparing product dimensions, write down the area you want illuminated without moving the panel.
Be specific. “Body use” is too broad to size a device. A useful description looks more like one of these:
- face and neck while seated;
- one shoulder or knee at a time;
- the front of the torso while seated or standing;
- torso and upper legs in one position;
- head-to-ankle vertical coverage on the front or back; O
- two panels arranged as one expandable system.
Prossimo, decide how many position changes you will accept. A compact panel may still suit a large-area routine if you are comfortable repositioning it. A taller panel may be worthwhile if avoiding repeated setup is the main reason you are upgrading.
This is not a question of which size is more effective. In questa fase, you are only deciding how much area the setup can illuminate at once and how much effort the routine requires.
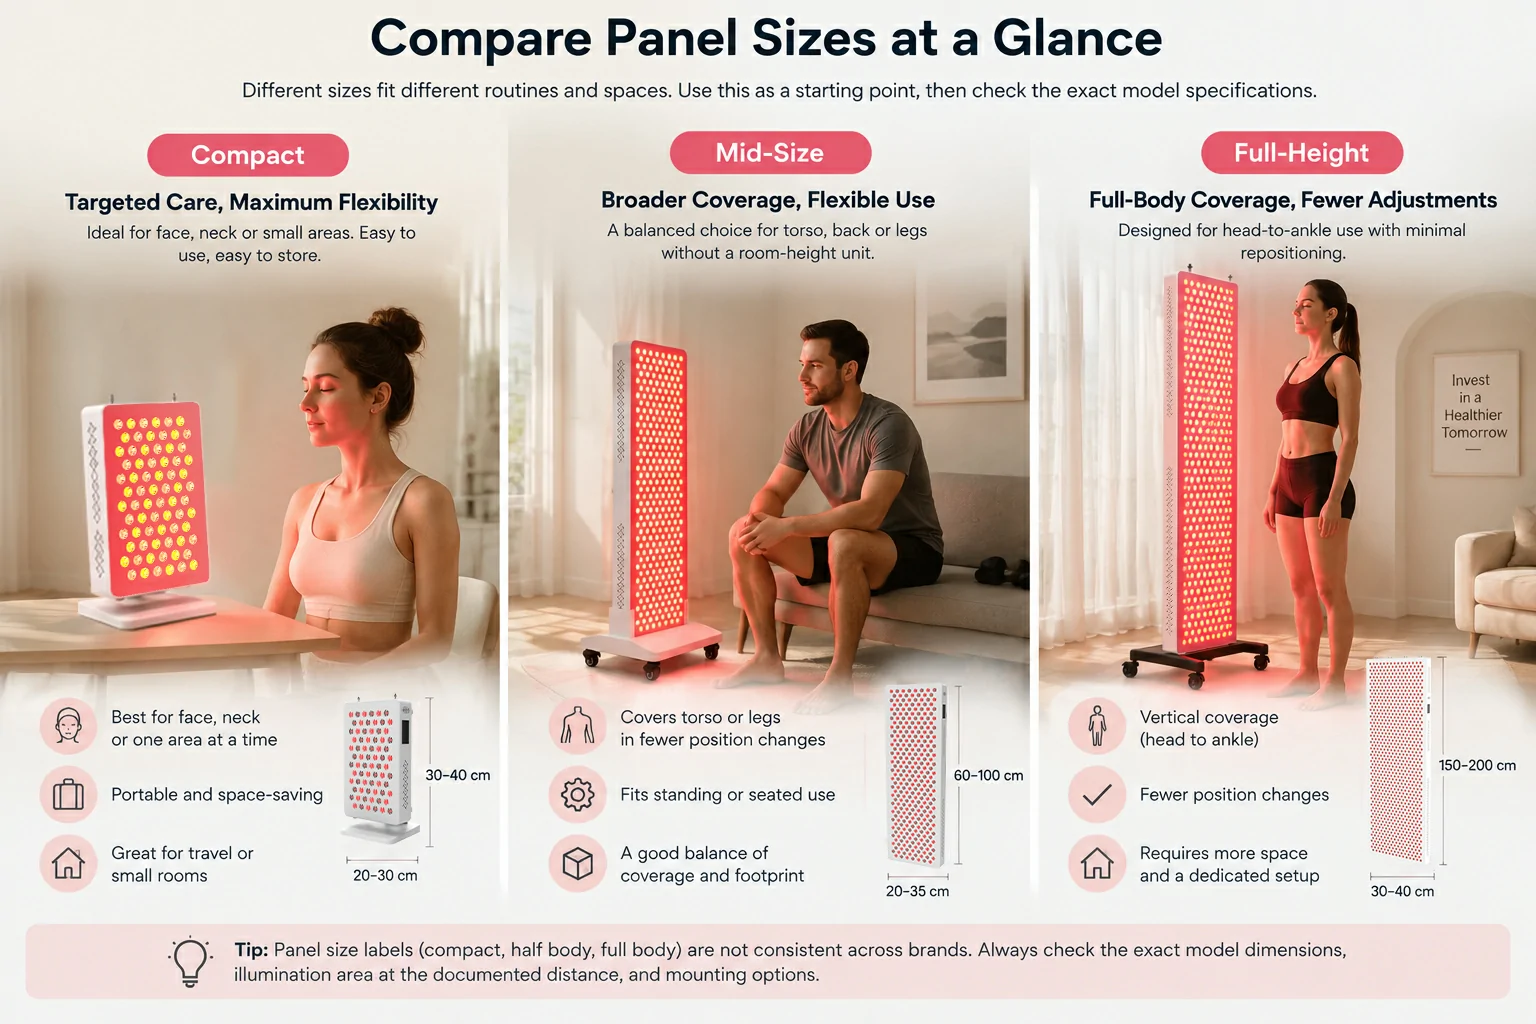
Use Size Categories Only as a First Filter
Brands do not always use “compact,” “half body,” “full body” and “modular” in the same way. Treat the label as a browsing shortcut, then compare the exact model.
| Formato | It may fit when | Common tradeoff to verify |
|---|---|---|
| Compact or tabletop | You mainly want one smaller area, need portability or cannot dedicate floor space | May require more repositioning for larger areas |
| Mid-size or half-height | You want broader torso or leg coverage without a room-height unit | May still require separate upper- and lower-body positions |
| Full-height | You want broad vertical coverage with fewer height changes | May increase cost, peso, delivery burden and permanent-space demand |
| Modulare | You want to start smaller and expand later | Compatibility and support may become part of the purchase |
Prima di acquistare, verify the following for the format you shortlist:
- Compatto: a stable tabletop position, vertical adjustment, active light area and storage dimensions.
- Mid-size: coverage at the documented distance, stand height range and whether it aligns with your seated or standing position.
- Full-height: actual height and width, side-to-side coverage, stand footprint, ceiling clearance and movement space.
- Modulare: which models connect, controller limits, approved brackets, power requirements and whether future revisions remain compatible.
A format is not a recommendation by itself. Two panels with similar cabinet dimensions can have different LED layouts, beam patterns, mounting systems and documented working distances. Ask for the exact model’s data rather than borrowing the setup shown for another model in the same product family.
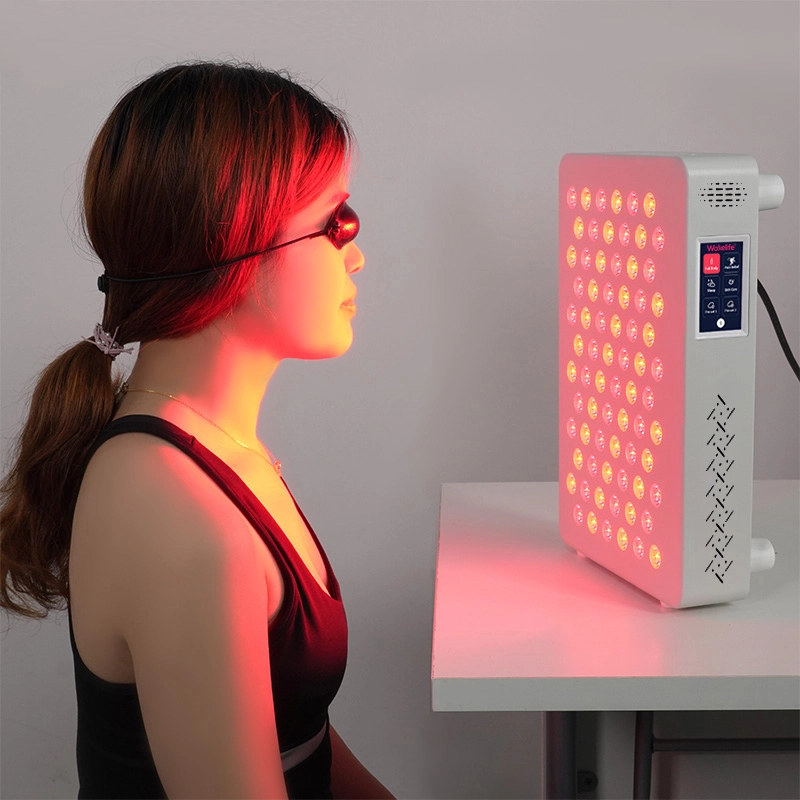
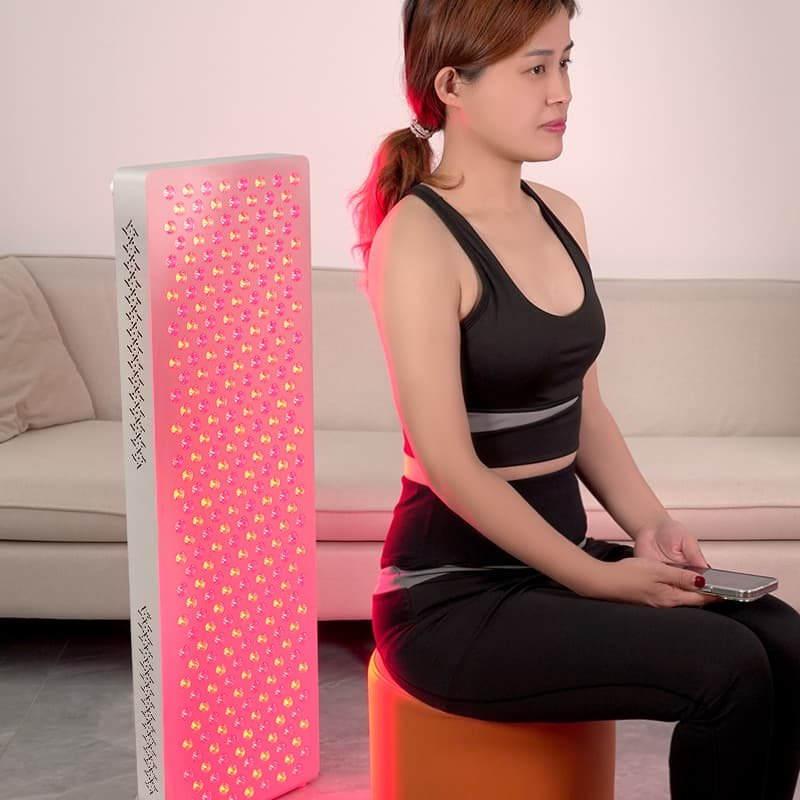
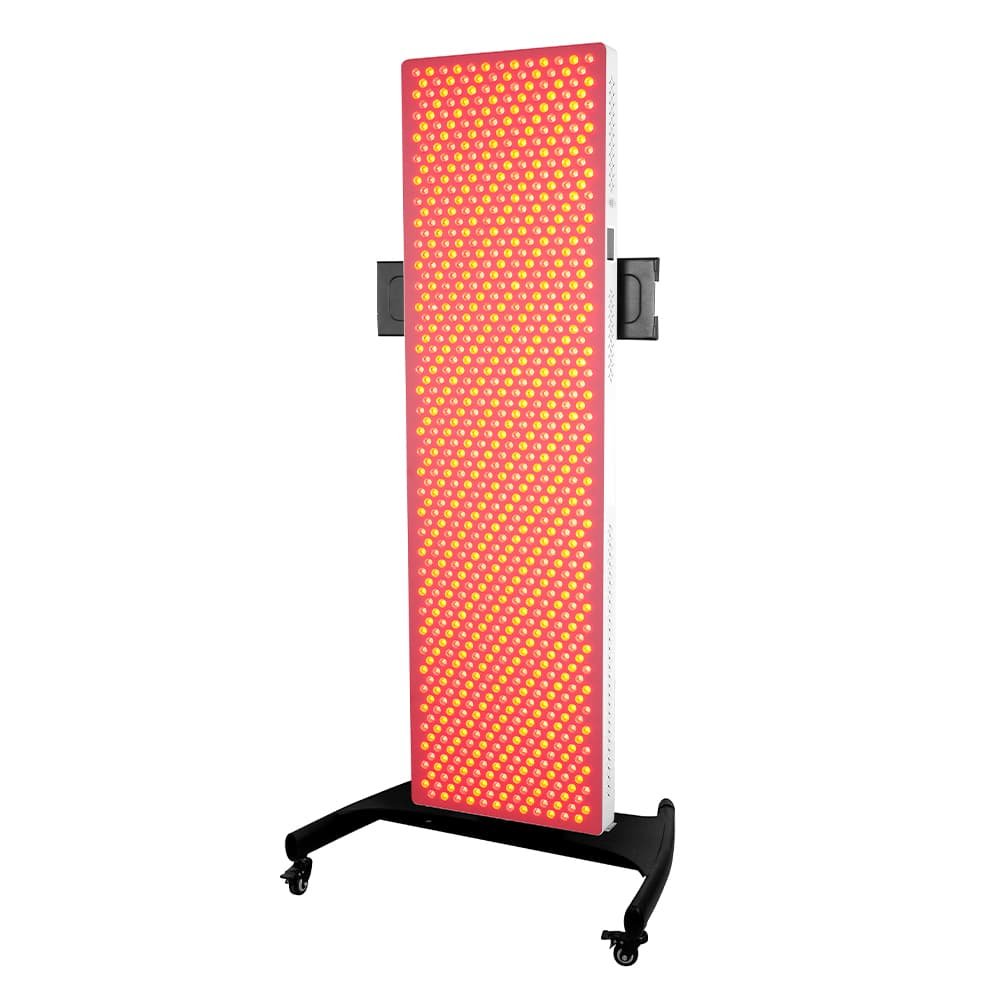
Full Body vs Half Body: How to Compare Them
For a practical comparison, focus on how many position changes your routine involves and whether the larger setup fits the room.
A half-height panel on an adjustable stand may cover the upper body in one position and the lower body in another when its documented field and height range support both positions. Accepting that extra adjustment may reduce the floor-space, delivery or budget commitment compared with a larger candidate, but the actual difference must be checked between the exact products.
A full-height panel may remove a height adjustment, but a single flat panel still faces one direction. If your routine involves both the front and back, you normally need to turn or use a separately verified multi-sided arrangement.
- A half-height setup is more likely to fit when your priority areas are concentrated, storage matters or the room cannot accommodate a taller panel, its stand and the user position.
- A full-height setup is more likely to fit when broad vertical coverage is used regularly and a dedicated location is acceptable, so the routine can begin without adjusting panel height.
A “full-body” label should not be read as automatic 360-degree coverage. Multi-sided arrangements exist, but their panel positions, support system and documented coverage need separate verification.
Measure the Room as a Three-Dimensional Setup
The panel’s listed width and height are only part of the space requirement. Measure the whole use position.
For a floor-stand setup, documentazione:
- the stand’s floor footprint;
- the panel depth and any rear clearance required by its instructions;
- the documented panel-to-user distance for the exact model and intended routine;
- enough space for the user to sit, stand or turn safely;
- the height and tilt range of the mount;
- the path of the power cable; E
- the route used to roll, carry or store the system.
For a wall-mounted setup, also verify the wall construction, approved hardware, installed projection from the wall and whether the panel can be reached for controls, cleaning and service. Do not assume that hardware shown in a lifestyle photo is included or approved for every wall type.
For a door-mounted or hanging setup, check the exact accessory, load limits and clearance needed to open or close the door. A panel that fits on the door can still interfere with handles, hinges, nearby furniture or the user’s required position.
An easy-to-miss dimension is depth. A tall panel may fit the wall visually but still leave too little room for its stand, documented working distance and normal movement.
Do Not Treat Cabinet Size as the Illuminated Field
Product dimensions tell you whether the device fits the room. They do not, da soli, tell you how large an area is illuminated at your use position.
Separate these three specifications:
- cabinet dimensions: the outer size of the product;
- active light area: the part of the face containing the emitters, which may be smaller than the cabinet; E
- documented coverage at a stated distance: the field reported for a particular setup, together with the method or criterion used to define its boundary.
They may be related, but they are not interchangeable. Use the seller’s model-specific documentation and follow the exact device instructions rather than estimating a universal distance from the panel’s dimensions.
Ask the seller for a coverage diagram or spatial output map for the exact model. It should identify the distance and operating configuration used, explain what the coverage boundary represents and state how that boundary was measured. Then compare that field with the body area and position you recorded earlier. If those conditions are missing, record coverage as “not provided” rather than treating a marketing outline as a measured field.
If the seller provides only a single central output number, you still do not know the useful width and height of the field away from the center. If it provides only a wide lifestyle image, you do not know the measurement conditions. Neither item answers the size question on its own.
Decide Whether You Prefer Repositioning or a Permanent Setup
The practical difference between panel sizes often appears after the first position, not in the specification table.
Choose a smaller setup when portability, storage and targeted positioning matter more than covering a large area at once. Prima di acquistare, rehearse where you will place it for every area you expect to use. If the second or third position requires balancing the device on furniture or repeatedly rebuilding the setup, the apparent space saving may not be useful.
Choose a larger setup when broad vertical coverage and fewer height changes justify a dedicated location. Mark the stand footprint and user position on the floor with removable tape. Walk around it, operate nearby doors and drawers, and check whether the setup blocks normal use of the room.
Choose a modular setup when staged expansion is important. Confirm compatibility in writing before assuming that another panel can be added later. The mechanical bracket, controllore, cavo, firmware and power arrangement may all be version-specific.
Complete This Worksheet Before Checkout
Use one row for each product you are comparing. Write “not provided” rather than guessing.
| Decision field | Your requirement | Candidate model evidence |
|---|---|---|
| Area to illuminate in one position | ||
| Normal position: seated, standing or lying | ||
| Maximum acceptable position changes | ||
| Available wall width, height and floor depth | ||
| Cabinet dimensions and active light area | ||
| Documented coverage at the exact model's stated distance, including what defines the boundary and how it was measured | ||
| Supported stand, wall or hanging accessory | ||
| Stand footprint and adjustment range | ||
| Product and assembled-system weight | ||
| Rear, side and service clearances | ||
| Power outlet and cable route | ||
| Delivery path, package count and assembly needs | ||
| Storage location if the setup is not permanent | ||
| Return route if the size does not work |
The model that fills the table most clearly is easier to evaluate than one described only as “large,” “professional” or “full body.” Missing evidence does not automatically mean the product is poor, but it means the size decision is not yet complete.
Avoid Five Common Size Mistakes
Buying the largest panel the room can technically hold
“It fits” is not the same as “the setup works.” Include the mount, user position, movement and storage route.
Assuming a larger panel is automatically stronger
Size describes physical scale. Output requires separate model-specific measurements and conditions. Do not infer one from the other.
Ignoring the stand or mounting accessory
The support system determines footprint, height range, inclinare, stability and whether the panel can reach the position you planned.
Copying the distance shown for another model
Use the instructions and coverage information for the exact model and configuration. A family photo or shared marketing chart is not a substitute.
Planning the purchase but not the delivery
Check package dimensions, conteggio dei pacchi, peso, stairs, doorways and assembly. A full-height system may arrive in separate panel and stand packages, and returns can be more complicated than the original delivery.
The Final Decision Rule
Choose a setup only if it passes all four tests:
- It covers the area you use most often with an acceptable number of position changes.
- The exact model has documentation for coverage and setup at the distance you will use.
- Il pannello, stand and user position fit the room with normal access and movement.
- You can receive, assemble, store and, if necessary, return the system.
If two sizes pass, the smaller one favors portability and lower space commitment; the larger one favors fewer repositioning steps. If neither passes, change the mounting plan or reconsider whether a panel is the right form factor before increasing the budget.
Domande frequenti
Is a bigger red light therapy panel more powerful?
Non automaticamente. Cabinet size describes physical scale, not output. Compare model-specific measurements and the conditions under which they were taken rather than inferring output from dimensions.
Can a small panel cover the whole body?
It can be repositioned across several areas if the exact device instructions support the planned positions. Whether that is acceptable depends on how many position changes your routine can tolerate and whether each position is stable and repeatable.
Does a full-body panel cover the front and back at the same time?
Not with a single flat panel facing one direction. Covering different sides requires turning or a separately verified multi-sided arrangement with its own support system and coverage documentation.
How far should I stand from the panel?
Follow the instructions for your exact model. There is no universal distance that applies across products, and a distance shown for another model should not be copied.
A Note for Brands
Consumer labels are not enough for a product-line brief. Define each SKU by cabinet dimensions, active light area, documented coverage conditions, compatible stands and the number of positions the intended setup requires. Brands and distributors can review Wakelife’s LED light therapy panel series as a starting point for an OEM or ODM product-line discussion. Confirm the exact model documents and configuration before using any performance, compliance or application statement.
This article is a pre-purchase sizing framework, not medical advice or a universal operating protocol. Follow the instructions supplied with the exact device.